Essential Equipment for Every DIY Roof Inspection
Essential Tools for Your DIY Roof Inspection
Do you worry about hidden issues in your roof? At Platinum Home Design, LLC, we know homeowners sometimes lack the proper tools for a DIY roof inspection. In this blog post, you will find key points on must-have equipment and a simple, clear guide to walk you through your inspection. You will learn how to spot damage early and keep your tools in great shape, saving time and reducing future costs.
Key Takeaways
- use proper tools for safe and accurate roof inspections
- document every sign of damage with images and detailed notes
- regular roof checks help prevent minor issues from escalating
- wear quality safety gear during every roof inspection
- consult expert roofing services when damage exceeds routine repairs
You rely on proper tools for a successful DIY roof inspection. A reliable flashlight helps you spot potential damage and assess your siding effectively.
You inspect for missing shingles carefully as they can compromise your roof’s integrity. Using a flashlight, you work methodically without overlooking details.
You consider professional roofing services when you face challenges. Your llc experience guides you through verifying every aspect of your home’s facade.
You gain clear insights from these key observations:
- Use a flashlight to highlight potential issues.
- Identify missing shingles early to prevent further damage.
- Review your siding for any signs of wear.
- Contact expert roofing services when needed.
You finished the key takeaways and now ready to see the role proper tools play in safe roof checks. Step forward to learn which equipment makes your DIY inspections better.
Understanding the Importance of Tools for DIY Roof Inspections
Performing your own roof inspection helps you spot risks by recognizing potential issues from wind damage to a cracked chimney. Paying attention to details may reveal missing metal roof panels or a sign of stain that could lead to bigger problems. This brief overview prepares you to learn how to identify common roof issues through your DIY process.
Recognizing the Risks of Skipping Essential Inspections
You face serious risks when you skip essential inspections, including unchecked mold growth that can compromise structural integrity. You must involve an inspector to catch early signs of heat damage and other issues before they worsen, ensuring your warranty remains valid if problems occur:
- Spot early signs of mold and moisture buildup
- Detect heat damage that weakens roofing materials
- Engage a roofing contractor for expert evaluation
- Maintain warranty coverage by addressing concerns promptly
You need to take these inspections seriously as they provide practical insights into your roof’s condition. You benefit from a step-by-step inspection that not only prevents further damage but also helps you maintain reliable performance and value of your property through the support of trusted roofing contractors.
Identifying Common Roof Issues Through DIY Inspections
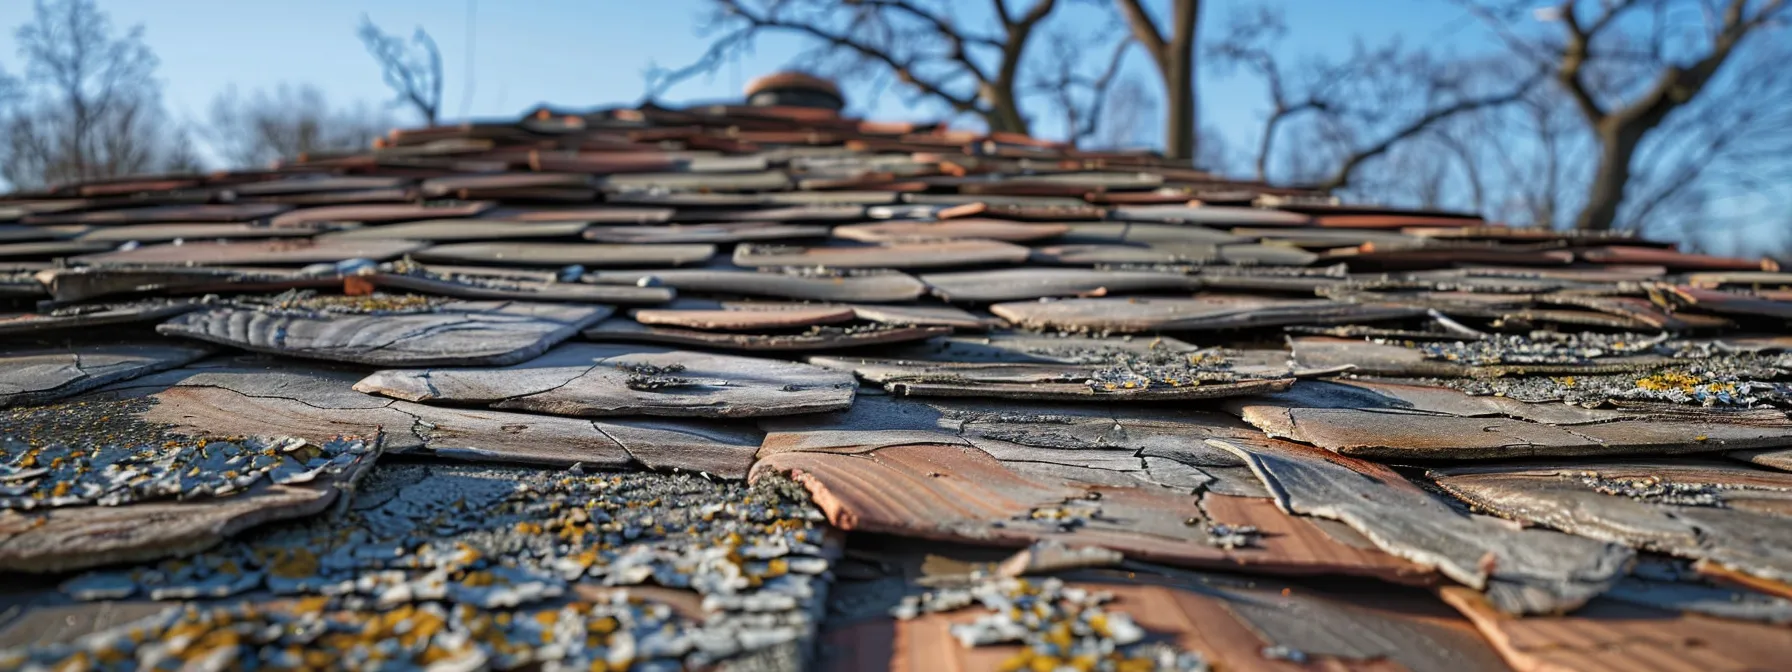
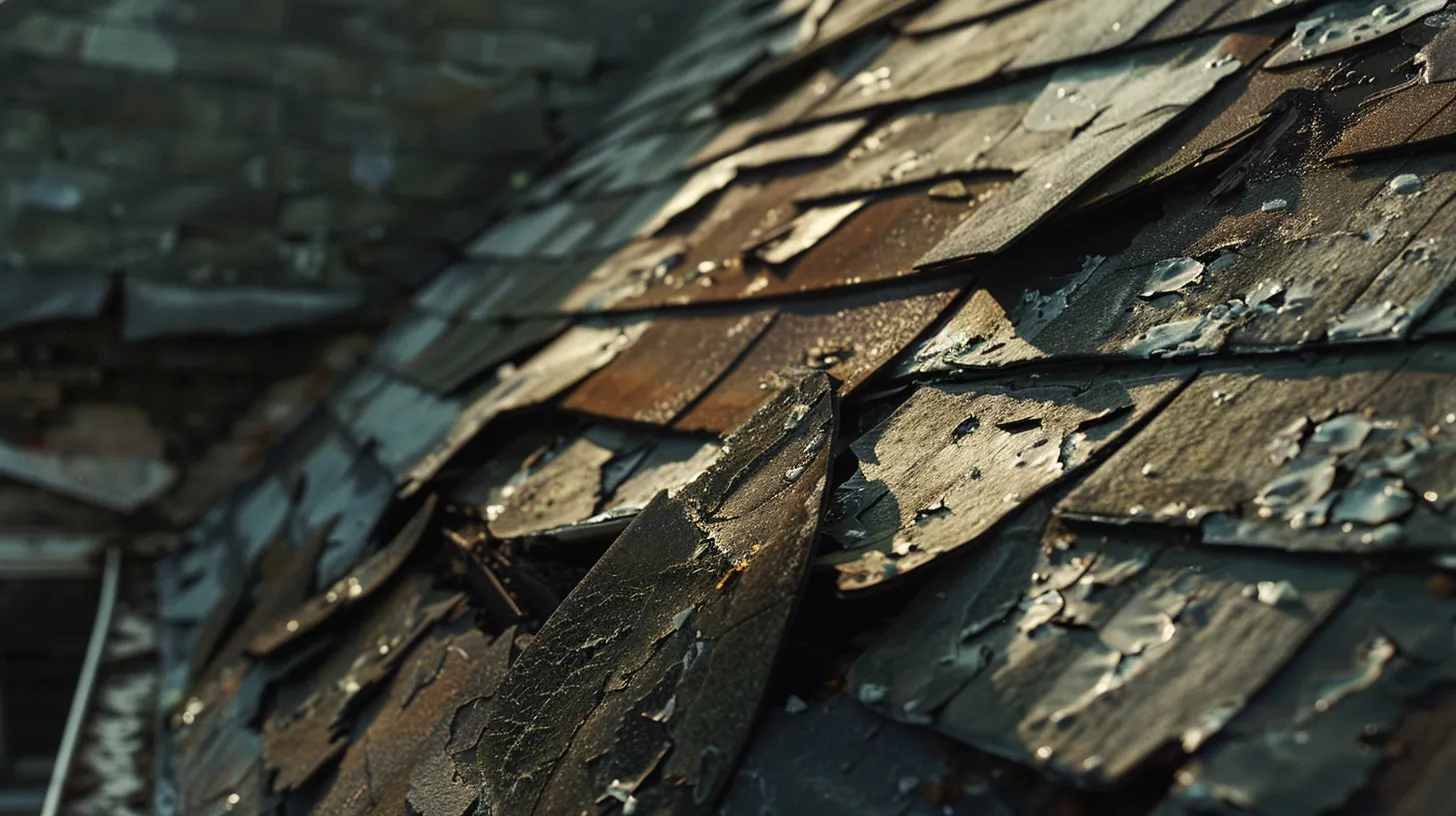
You carefully observe signs of algae buildup and cracked tiles during your roof inspection, knowing that these issues could signal potential water damage. You understand that early detection greatly minimizes the need for extensive roof repair, making your efforts a wise investment in your home’s safety.
You also check for evidence of pest activity and deterioration along edges to avoid further complications. By addressing such common roof issues during your inspection, you prepare to take prompt action, ensuring that minor concerns do not evolve into major problems requiring costly fixes.
You have learned how the right tools matter in a roof check. Now, see the gear that makes your roof inspections sharp and effective.
Must-Have Equipment for a Successful Roof Inspection
Your DIY roof inspection starts with the right ladder for proper access. You also need safety gear, inspection tools like cameras and notebooks, accurate measuring tools, and harnesses with ropes for extra safety. You benefit from these tools during your roof repair replacement efforts on fascia, deck, tile, and metal surfaces, ensuring every detail receives attention.
Ladders: Choosing the Right Height and Type
You need a ladder that suits the height requirements for your roof when performing a home inspection. Consider how the ladder reaches the eaves and supports work on flashing repairs while saving energy during extended projects, aligning with sound policy guidelines for safe DIY work.
Selecting the right ladder means choosing one that provides stability and efficiency. You find that quality ladders not only support tasks gracefully from minor to major repairs but also help maintain consistent energy flow, ensuring a safe approach to addressing your roof’s eaves and flashing details.
Safety Gear: Essential Items for Protecting Yourself
You prioritize your safety during professional roof inspections by equipping yourself with essential safety gear. Protective helmets, non-slip shoes, and sturdy gloves help you tackle challenges such as hail damage and wear and tear, ensuring you can safely inspect your flat roof while capturing every detail without risk.
You rely on quality safety gear to support your confidence when working with roofing contractor roofing techniques. This equipment not only protects you but also aids in documenting minor issues, so you can address problems associated with wear and tear early, making your DIY efforts more successful and secure.
Inspection Tools: Recommended Cameras and Notebooks
You use inspection tools such as cameras and notebooks to document every sign of roof damage and corrosion. Your gear assists in capturing clear images of ventilation issues and areas vulnerable to mildew, making it easier to assess what repairs are needed.
You rely on these tools to record clear evidence of potential concerns that could lead to structural issues. Your detailed notes and precise photos help you track any progression of roof damage and areas where moisture, ventilation, or corrosion may be a concern.
Measuring Tools: Ensuring Accuracy for Roof Assessments
You rely on precise measuring tools to verify the condition of your roof after events like a storm or prolonged exposure to harsh weather. These tools help you spot discrepancies around the ceiling edges and detect the buildup of moss that might suggest water seepage, ensuring you record all necessary details for a free estimate assessment.
You use these instruments to check for even spacing and proper alignment, so you can swiftly clear any debris that may obscure your view. This process involves a systematic checklist of tasks:
- Measure roof dimensions accurately
- Inspect areas around the ceiling for structural shifts
- Note any moss growth or other signs of deterioration
- Prepare measurements to obtain a free estimate for repairs
- Identify debris accumulation that could block drainage
Harnesses and Ropes: Keeping Safety at the Forefront
You rely on high-quality harnesses to secure yourself during roofing work, including work in tight attic spaces and during roof inspections, ensuring you stay safe when working near an asphalt shingle or caulk repair area:
You use durable ropes alongside secure harnesses to lower and raise yourself safely while inspecting roof areas, ensuring precise application of caulk on asphalt shingle surfaces and careful navigation of the attic partitions. These tools provide you a reliable way to perform roof inspections while maintaining confidence in your safety measures.
You now have the essential gear at your side. Follow these steps to master a careful roof inspection.
Step-by-Step Guide to Conducting Your Own Roof Inspection
You prepare by confirming your tools and safety checklist to support roof maintenance. You then inspect the roof structure and materials to spot moisture, leak, and snow issues. You finish by documenting findings, providing clear records for future reference and ensuring proper care of your roof over time.
Preparing Your Tools and Safety Checklist
You prepare by gathering all required equipment and ensuring each item is in proper condition. You check that your wear is in good shape, your ladder is stable, and your downspout accessories are ready for any necessary adjustments during your roof inspection:
- Secure a reliable ladder with proper support
- Verify your wear, including sturdy gloves and boots
- Inspect your downspout for clear water flow
- Confirm your roofer’s recommended tools are available
- Examine any curling of the roof material for early signs of wear
You then create a safety checklist to maintain a structured approach during the inspection process. You ensure that each tool is checked and that your safety gear is complete, so you are ready to work efficiently and confidently on your roofing project.
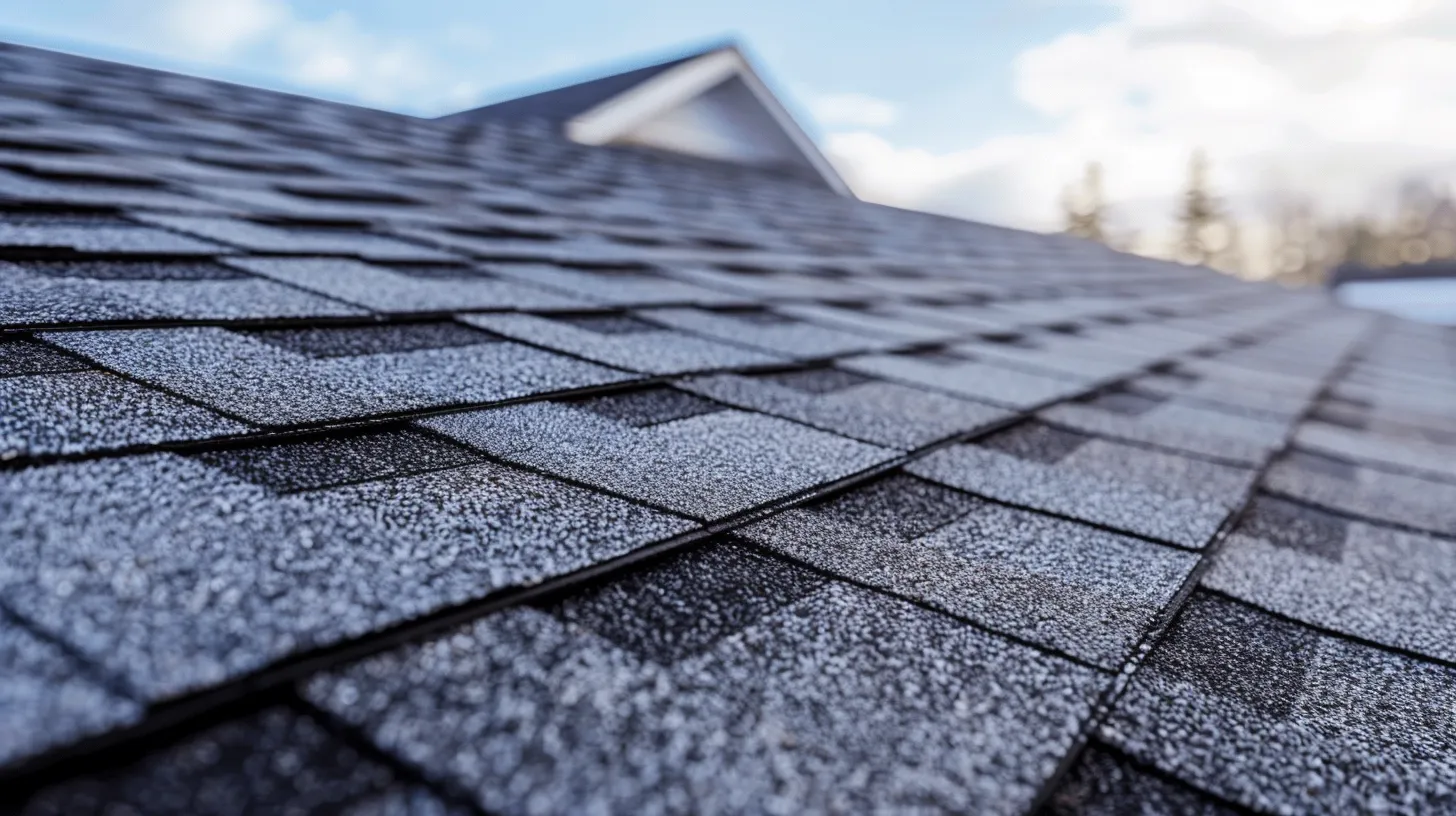
Inspecting the Roof Structure and Materials
You begin by carefully examining the overall structure of your roofs during a home roof inspection, paying attention to alignment discrepancies and possible signs of damage. You rely on a professional roof inspection approach to verify the integrity of the roof materials, ensuring that every component, from the underlayment to the shingles, meets a high standard as recognized by reputable sources like the better business bureau.
During your roofing inspection, you focus on identifying areas that may require repair or regular maintenance. You apply your firsthand expertise to check for wear or weakness in the roof structure, ensuring that your roof inspection meets the necessary standards for a professional roof inspection, keeping your home secure and well maintained.
Documenting Findings for Future Reference
You document your observations using a notebook and digital camera to capture meaningful details that may impact your roof’s safety. Recording measurements and visual notes helps you track any areas that need immediate attention and supports you in sharing accurate information with professional experts when seeking help.
You compile your findings into clear records to aid future roof maintenance and inspection planning. The detailed documentation of safety concerns and repair points serves as a reliable reference to guide your next steps, ensuring that you preserve the longevity of your home’s roof.
You leave your inspection with a clear view of what needs work. Now, caring for your tools becomes the next call to honor every hard day’s labor.
Maintaining Your Tools for Long-Lasting Use
You maintain your DIY roof inspection tools by cleaning and storing equipment properly and regularly checking gear for safety and functionality. These steps ensure your tools last longer and perform well. You benefit from practical guidance on cleaning routines and safety inspections that support consistent reliability during every roof check.
Cleaning and Storing Equipment Properly
You take pride in maintaining your DIY roof inspection equipment by cleaning each tool promptly after use. You wipe down ladders, cameras, and measuring devices with non-abrasive cleaners, ensuring that all surfaces remain free of dust and debris for safe and reliable performance during your next inspection.
You store your tools in a designated, dry area to shield them from adverse weather effects and wear. You secure your gear in well-organized cases or cabinets, making it easy to access the tools you depend on for accurate roof assessments every time.
Regularly Checking Gear for Safety and Functionality
You review your gear for any signs of wear or malfunction before each DIY roof inspection to ensure maximum safety and accuracy. You examine ladders, harnesses, and measuring tools for structural integrity and correct performance to avoid any issues during your inspection process:
You routinely perform safety checks to confirm that all equipment functions properly during your DIY roof inspection. You recognize that proper care of your tools minimizes risks, ensuring you have reliable gear for every project and instilling confidence in your hands-on approach to home improvement.
Keeping your tools in good condition ensures your work stands the test of time. The next section offers extra insights to help you improve your home’s comfort and style.
Additional Resources for Homeowners
You can find online tutorials that walk you through effective DIY roof inspections. You will also learn when to seek expert roofing services for complex issues. These resources offer practical insights to guide your home maintenance efforts and ensure your roof remains secure and well cared for.
Where to Find DIY Roof Inspection Tutorials
You can research trusted online platforms that offer clear, step-by-step DIY roof inspection tutorials designed for homeowners. You may explore reputable websites and video channels that provide practical demonstrations and verified advice for tackling roof evaluations:
You gain clear insights by accessing these resources, which offer practical examples and actionable tips that simplify the inspection process. You find that these tutorials empower you to address common roofing issues and support your efforts to maintain a sound and safe roof system.
Professional Services: When to Call for Help
If you experience major damage or notice persistent problems during your inspection, you should contact professional roofing services. A certified roofing contractor can assess your roof’s condition and recommend the best course of action.
You may decide to seek expert help when your DIY effort reveals issues that exceed routine maintenance needs:
- Significant water damage
- Structural safety concerns
- Extensive wear on roofing materials
- Complex repair situations
Contacting a roofing contractor ensures you receive a safe and reliable repair strategy tailored to your home’s unique requirements.
Homeowners find many tips below that can boost their project efforts. Read on to learn more about the tools and tricks for quick roof checks.
FAQs on DIY Roof Inspections and Tools
You will find answers to common questions about your DIY roof inspection. You learn how often to inspect your roof, whether you can manage an inspection alone, and the steps to take if you find damage. This section uses essential tools and techniques to guide you through maintaining a safe and sound home exterior.
How Often Should I Inspect My Roof?
You should examine your roof at least twice a year to catch any changes early. Regular inspections help you maintain the integrity of your home and ensure you have the right tools to spot and fix potential issues promptly.
If you notice severe weather or aging roofing materials, consider checking more frequently. This proactive approach gives you clear insights into your roof’s condition and allows you to take action before small problems become expensive repairs.
Can I Do a Roof Inspection Alone?
You can manage a roof inspection on your own if you prepare by gathering all the necessary tools. You ensure safety by using quality equipment such as a reliable ladder, quality flashlight, and accurate measuring instruments.
You have a clear process that allows you to work independently and record important details for future reference:
What Should I Do if I Find Damage?
You notice damage while performing your DIY roof inspection, you should document each issue with a clear image and detailed notes. This methodical approach ensures you have evidence for discussions with a trusted roofing contractor when planning repairs.
You then evaluate the severity of the found damage and determine whether immediate repair is needed, or if you can safely conduct temporary measures until professional assistance arrives:
- Record photographic evidence of the damage
- Make detailed notes of its location and characteristics
- Consult with a roofing expert to assess repair options
You now carry a clearer view of your options with every answer laid out. Keep reading; the final remarks will tie everything together in a neat finish.
Conclusion
You have learned that using the right equipment is key to performing a safe and accurate roof inspection. Your trusted tools, from reliable ladders to accurate measuring devices, support every step of your process.
You now understand that clear documentation and careful observations during inspections can help you catch minor issues before they escalate. Your methodical approach keeps your home secure and guides your maintenance efforts.
You benefit from using quality safety gear, which protects you during each roof inspection and ensures you work securely at all times. Your focus on these tools helps maintain the integrity of your roof.
You are equipped with essential tools that simplify your DIY roof inspection practices and boost your confidence in home improvement tasks. Your strategy today leads to a safer and more reliable roofing system.
Frequently Asked Questions
What basic tools do I need for a roof inspection?
For a roof inspection, you need a ladder, flashlight, and safety harness. Measuring tape and binoculars further assist in identifying roofing defects while keeping your work secure and efficient.
How do I safely inspect my roof?
To safely inspect your roof, use a sturdy ladder and wear non-slip footwear with proper safety gear. Check weather conditions and have someone present to monitor your progress. Consider professional help if you’re unsure about any step.
Which equipment is most essential for inspections?
The essential equipment for inspections is a thermal imaging camera, enabling you to pinpoint hidden leaks and structural concerns with precision.
How often should I check my roof?
You should inspect your roof twice yearly, ideally during spring and fall, with extra checks after severe storms. This routine helps ensure repair needs are detected early, supporting your home’s overall safety and lasting value.
What maintenance is required for roof tools?
Regular cleaning, lubrication, and inspection of moving parts ensure your roof tools work properly. Check for wear, repair any damage, and store equipment in a dry, secure area to maintain safety and effectiveness.
Conclusion
You rely on quality equipment to ensure each inspection step is precise and safe. You capture detailed evidence of potential issues with effective tools to guide repair decisions. You maintain a methodical approach that helps prevent minor concerns from escalating. You invest in these essential tools to protect your home and secure its future performance.